Introduction
In Part 1 of our RAG series, we explored the foundations of RAG, walking through each part and showing how they come together to create a powerful tool for information retrieval and synthesis.
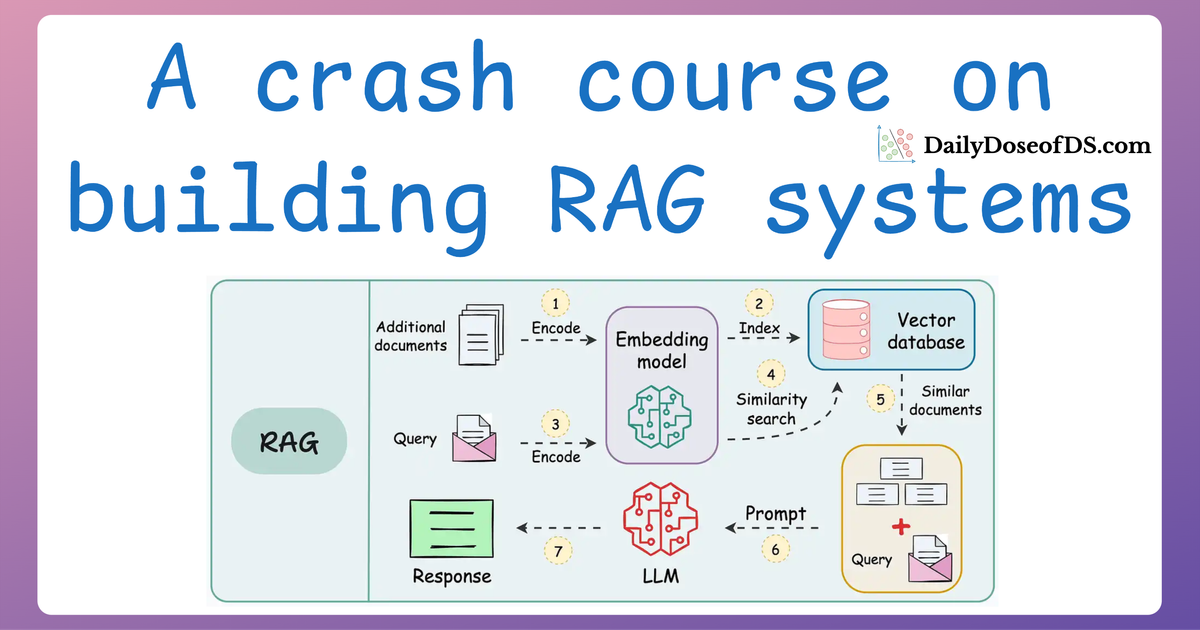
But RAG (Retrieval-Augmented Generation) is not magic.
While it may feel like a seamless process involving inputting a question and receiving an accurate, contextually rich answer, a lot is happening under the hood, as depicted below:
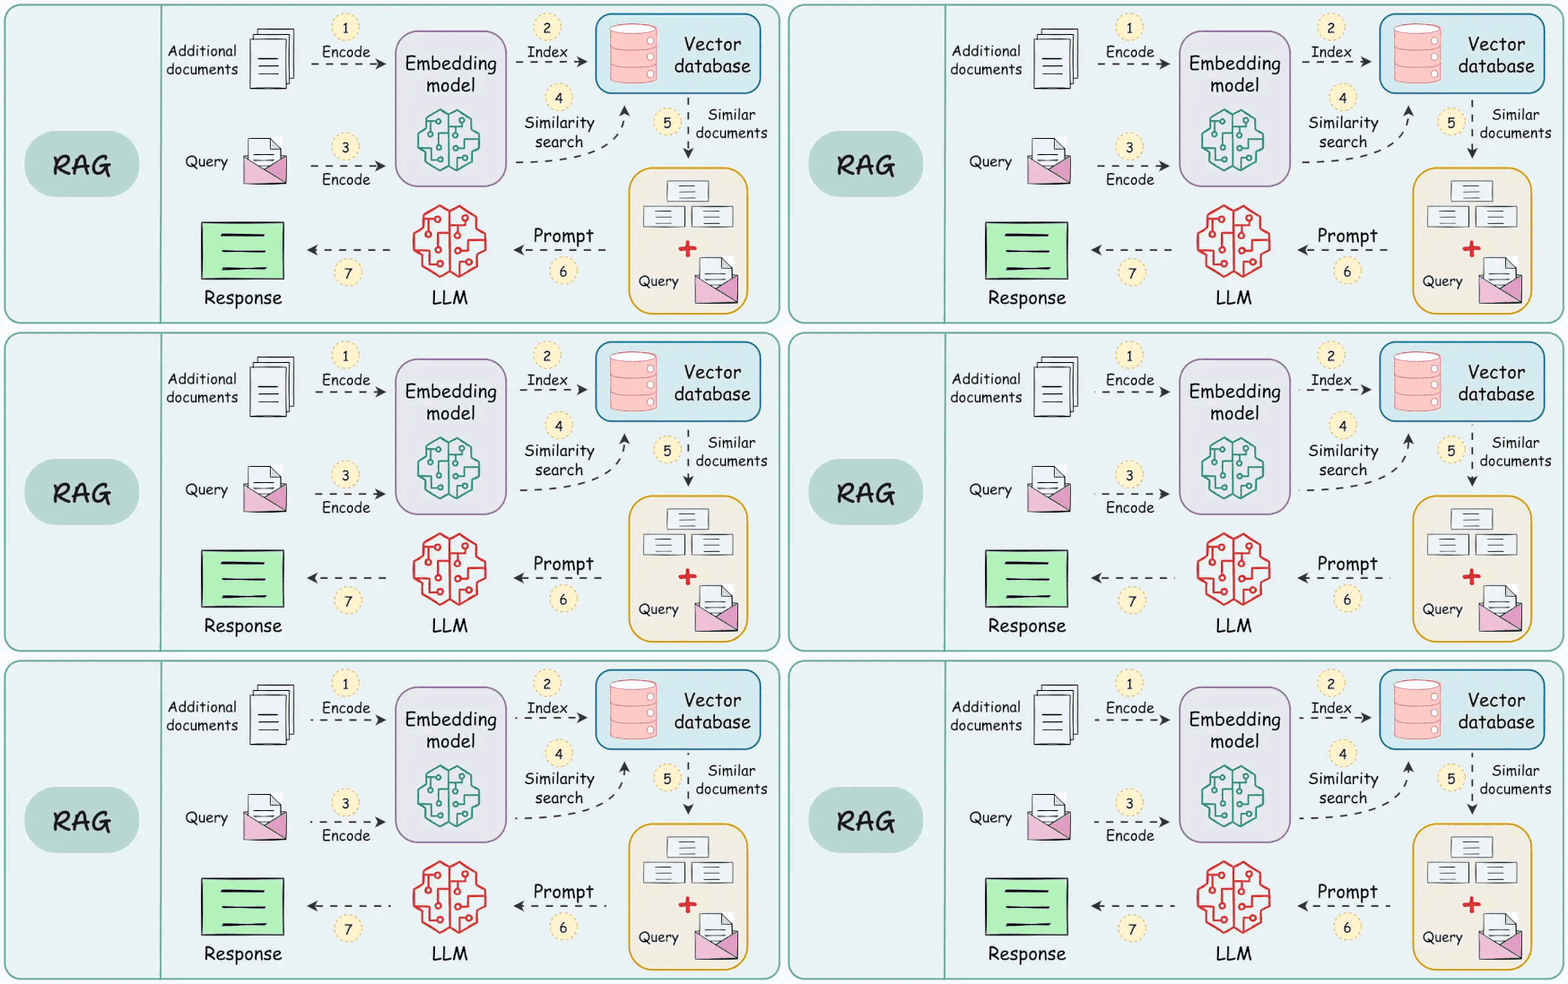
As shown above, a RAG system relies on multiple interdependent components: a retrieval engine, a re-ranking model, and a generative model, each designed to perform a specific function.
Thus, while an end-to-end nicely integrated RAG system may seem like it “just works,” relying on them without thorough evaluation can be risky—especially if they’re powering applications where accuracy and context matter.
That is why, just like any other intelligence-driven system, RAG systems need evaluation as well since SO MANY things could go wrong in production:
- Chunking might not be precise and useful.
- The retrieval model might not always fetch the most relevant document.
- The generative model might misinterpret the context, leading to inaccurate or misleading answers.
- And more.
Part 2 (this article) of our RAG crash course is dedicated to the practicalities of RAG evaluation.
We’ll cover why it’s essential, the metrics that matter, and how to automate these evaluations, everything with implementations.
By the end, you’ll have a structured approach to assess your RAG system’s performance and maintain observability over its inner workings.
Make sure you have read Part 1 before proceeding with the RAG evaluation.
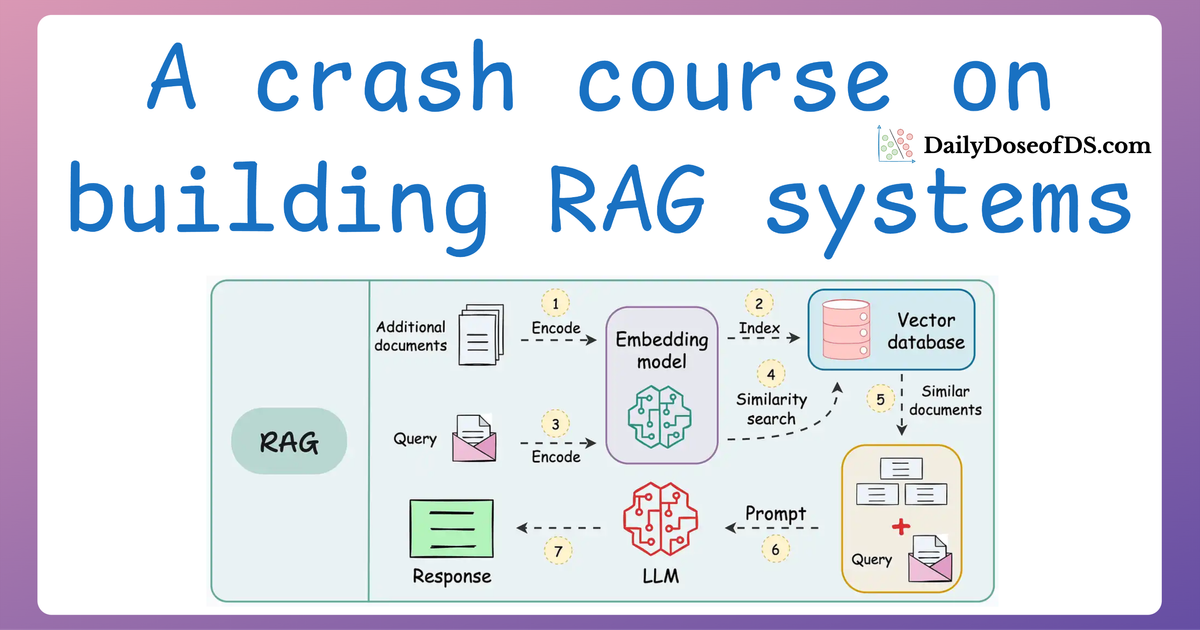
Nonetheless, we'll do a brief overview below for a quick recap.
Let's begin!
A quick recap
Feel free to skip section if you have already read Part 1 and move to the next section instead.
To build a RAG system, it's crucial to understand the foundational components that go into it and how they interact. Thus, in this section, let's explore each element in detail.
Here's an architecture diagram of a typical RAG setup:

Let's break it down step by step.
We start with some external knowledge that wasn't seen during training, and we want to augment the LLM with:

1) Create chunks
The first step is to break down this additional knowledge into chunks before embedding and storing it in the vector database.

We do this because the additional document(s) can be pretty large. Thus, it is important to ensure that the text fits the input size of the embedding model.

Moreover, if we don't chunk, the entire document will have a single embedding, which won't be of any practical use to retrieve relevant context.
We covered chunking strategies recently in the newsletter here:

2) Generate embeddings
After chunking, we embed the chunks using an embedding model.

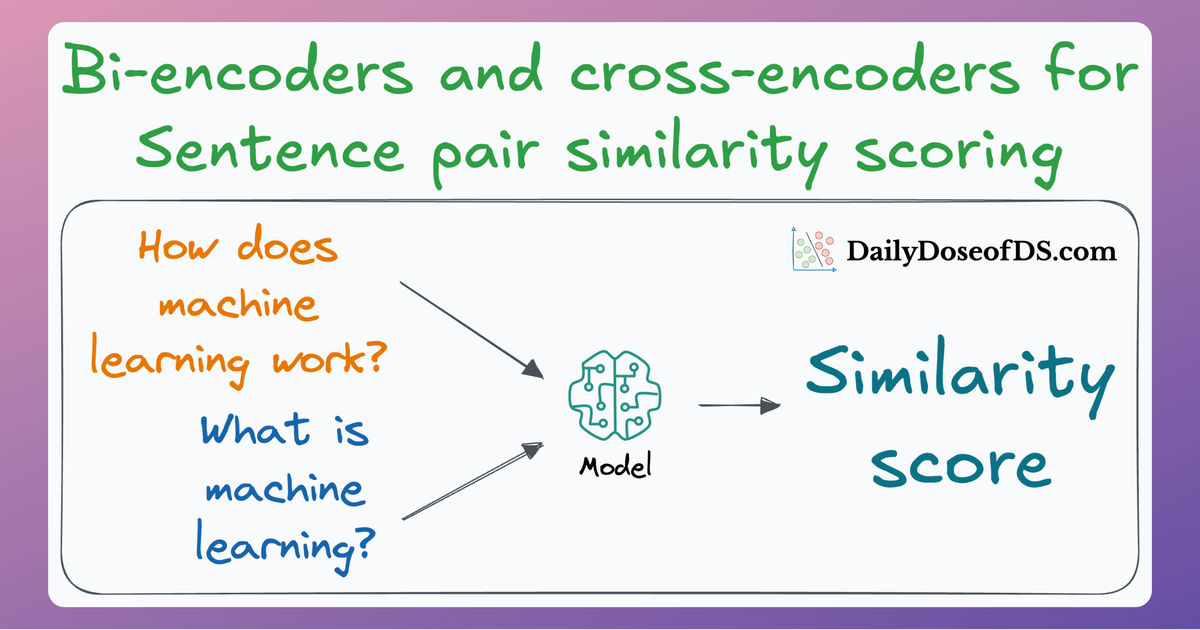
Since these are “context embedding models” (not word embedding models), models like bi-encoders (which we discussed recently) are highly relevant here.
3) Store embeddings in a vector database
These embeddings are then stored in the vector database:

This shows that a vector database acts as a memory for your RAG application since this is precisely where we store all the additional knowledge, using which the user's query will be answered.
With that, our vector databases has been created and information has been added. More information can be added to this if needed.
Now, we move to the query step.
4) User input query
Next, the user inputs a query, a string representing the information they're seeking.

5) Embed the query
This query is transformed into a vector using the same embedding model we used to embed the chunks earlier in Step 2.

6) Retrieve similar chunks
The vectorized query is then compared against our existing vectors in the database to find the most similar information.

The vector database returns the $k$ (a pre-defined parameter) most similar documents/chunks (using approximate nearest neighbor search).

It is expected that these retrieved documents contain information related to the query, providing a basis for the final response generation.
7) Re-rank the chunks
After retrieval, the selected chunks might need further refinement to ensure the most relevant information is prioritized.
In this re-ranking step, a more sophisticated model (often a cross-encoder, which we discussed last week) evaluates the initial list of retrieved chunks alongside the query to assign a relevance score to each chunk.

This process rearranges the chunks so that the most relevant ones are prioritized for the response generation.
That said, not every RAG app implements this, and typically, they just rely on the similarity scores obtained in step 6 while retrieving the relevant context from the vector database.
8) Generate the final response
Almost done!
Once the most relevant chunks are re-ranked, they are fed into the LLM.
This model combines the user's original query with the retrieved chunks in a prompt template to generate a response that synthesizes information from the selected documents.
This is depicted below:

Metrics for RAG evaluation
Typically, when evaluating a RAG system, we do not have access to human-annotated datasets or reference answers since the downstream application can be HIGHLY specific due to the capabilities of LLMs.
Therefore, we prefer self-contained or reference-free metrics that capture the “quality” of the generated response, which is precisely what matters in RAG applications.
For the discussion ahead, we'll consider these notations:

Read the full article
Sign up now to read the full article and get access to all articles for paying subscribers only.
Join today!


